Easy DIY Hinged Hoop House for Raised Beds: A Guide to Protect Plants
Want to protect your plants and extend your growing season? A hinged hoop house for raised beds is the solution. This guide provides clear steps to build one, helping your garden thrive through all seasons.
Key Takeaways
Hinged hoop houses extend the growing season, allowing for earlier planting in spring and later harvesting in fall.
Using materials like PVC pipes and greenhouse plastic, you can build a protective structure that nurtures plants and enhances crop quality.
Regular maintenance and seasonal adjustments ensure your hoop house remains effective in safeguarding plants against harsh weather and pests year-round.
Easy DIY Hinged Hoop House for Raised Beds: A Guide to Protect Plants
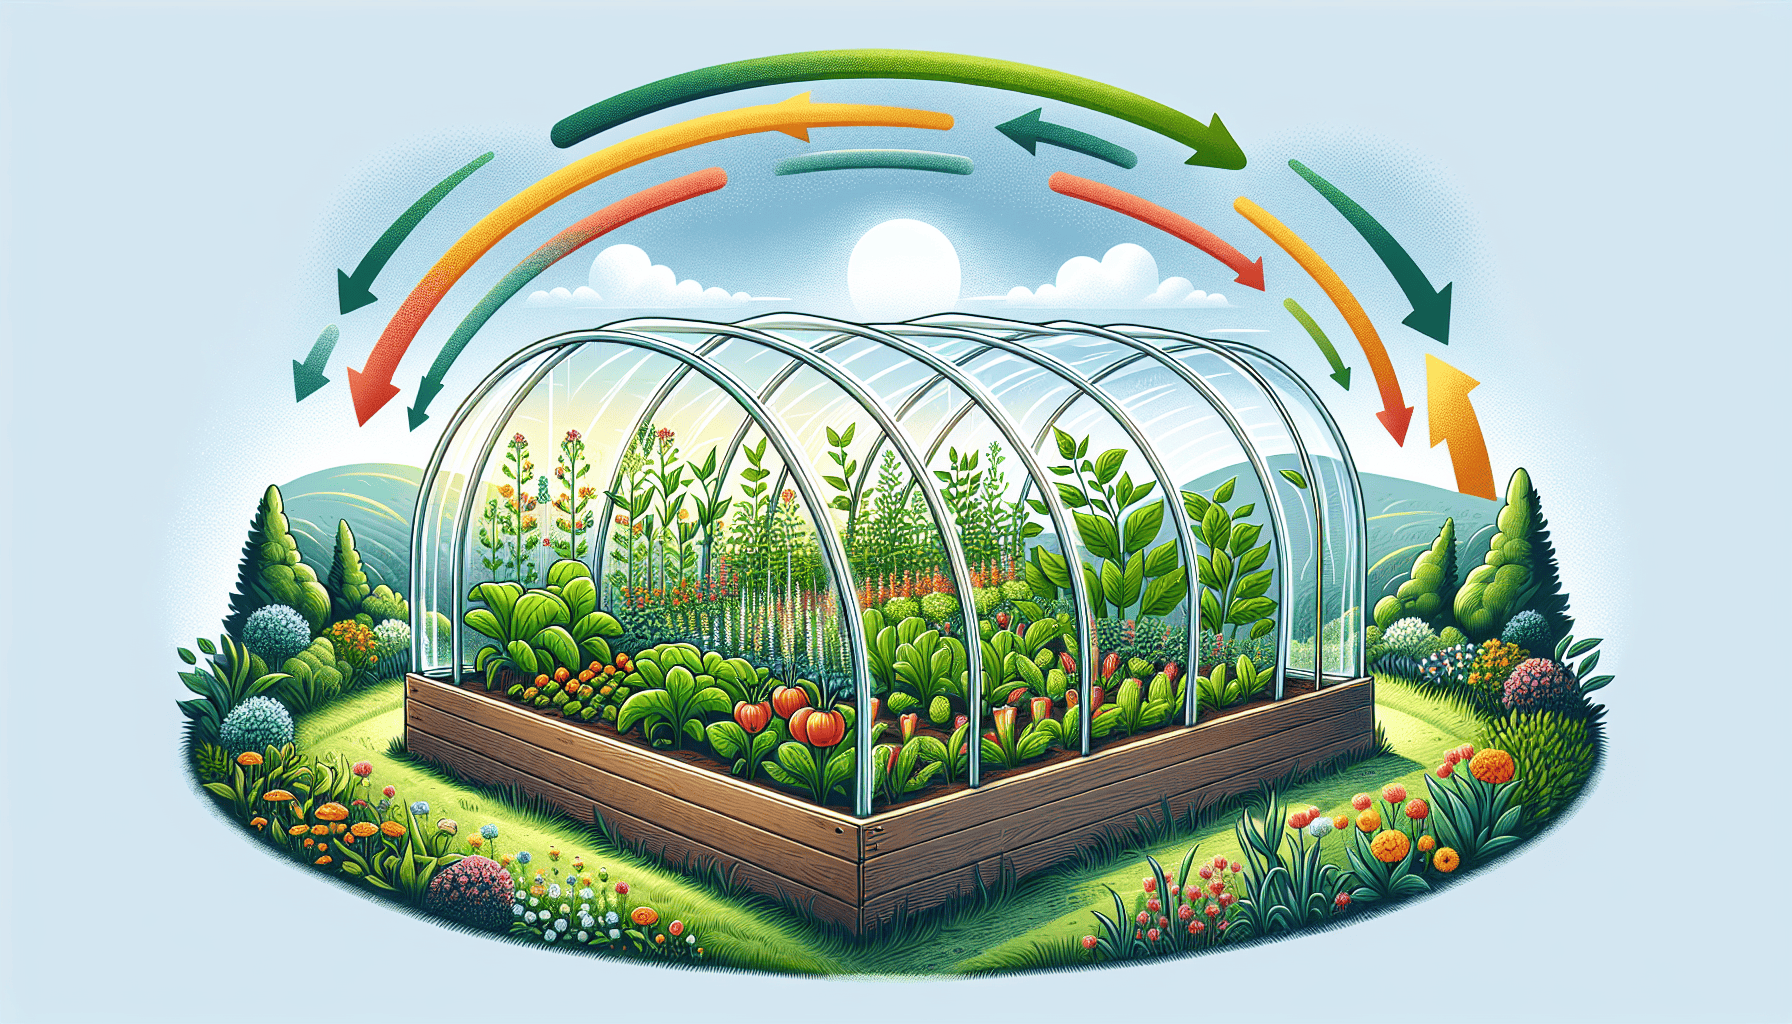
Hoop houses, often referred to as ‘low tunnels’, are cleverly constructed frameworks that serve the purpose of safeguarding plants. They enable gardeners to plant earlier during the spring and prolong the period of cultivation into the autumn months. These diminutive conservatories fend off harsh weather such as gusty winds, frosts, snowfall, and icy conditions while providing an ideal growth-promoting habitat for your garden.
By installing a hoop house over your raised beds, you’re doing more than just lengthening the growing phase. You’re also shielding your flora from chilliness and unwelcome insects. Visualize reaping fresh vegetables up until a month after summer’s end or initiating planting four weeks before spring typically allows—this is made possible through hoop houses maintaining soil temperature essential for sustaining botanical development even amidst cooling external temperatures. These structures assist in preserving moisture within their confines, which diminishes irrigation demands throughout colder spells.
Embracing hinged hoop houses introduces Gardening advantages by serving as temporary greenhouses which foster young seedlings at pivotal early stages come springtime. They not only bolster crop vitality but enhance flavor profiles since they facilitate increased sugar accumulation within produce due to their protected surroundings—a compelling incentive indeed to consider crafting a hinged hoop house around one’s own bedded plot of land.
Introduction
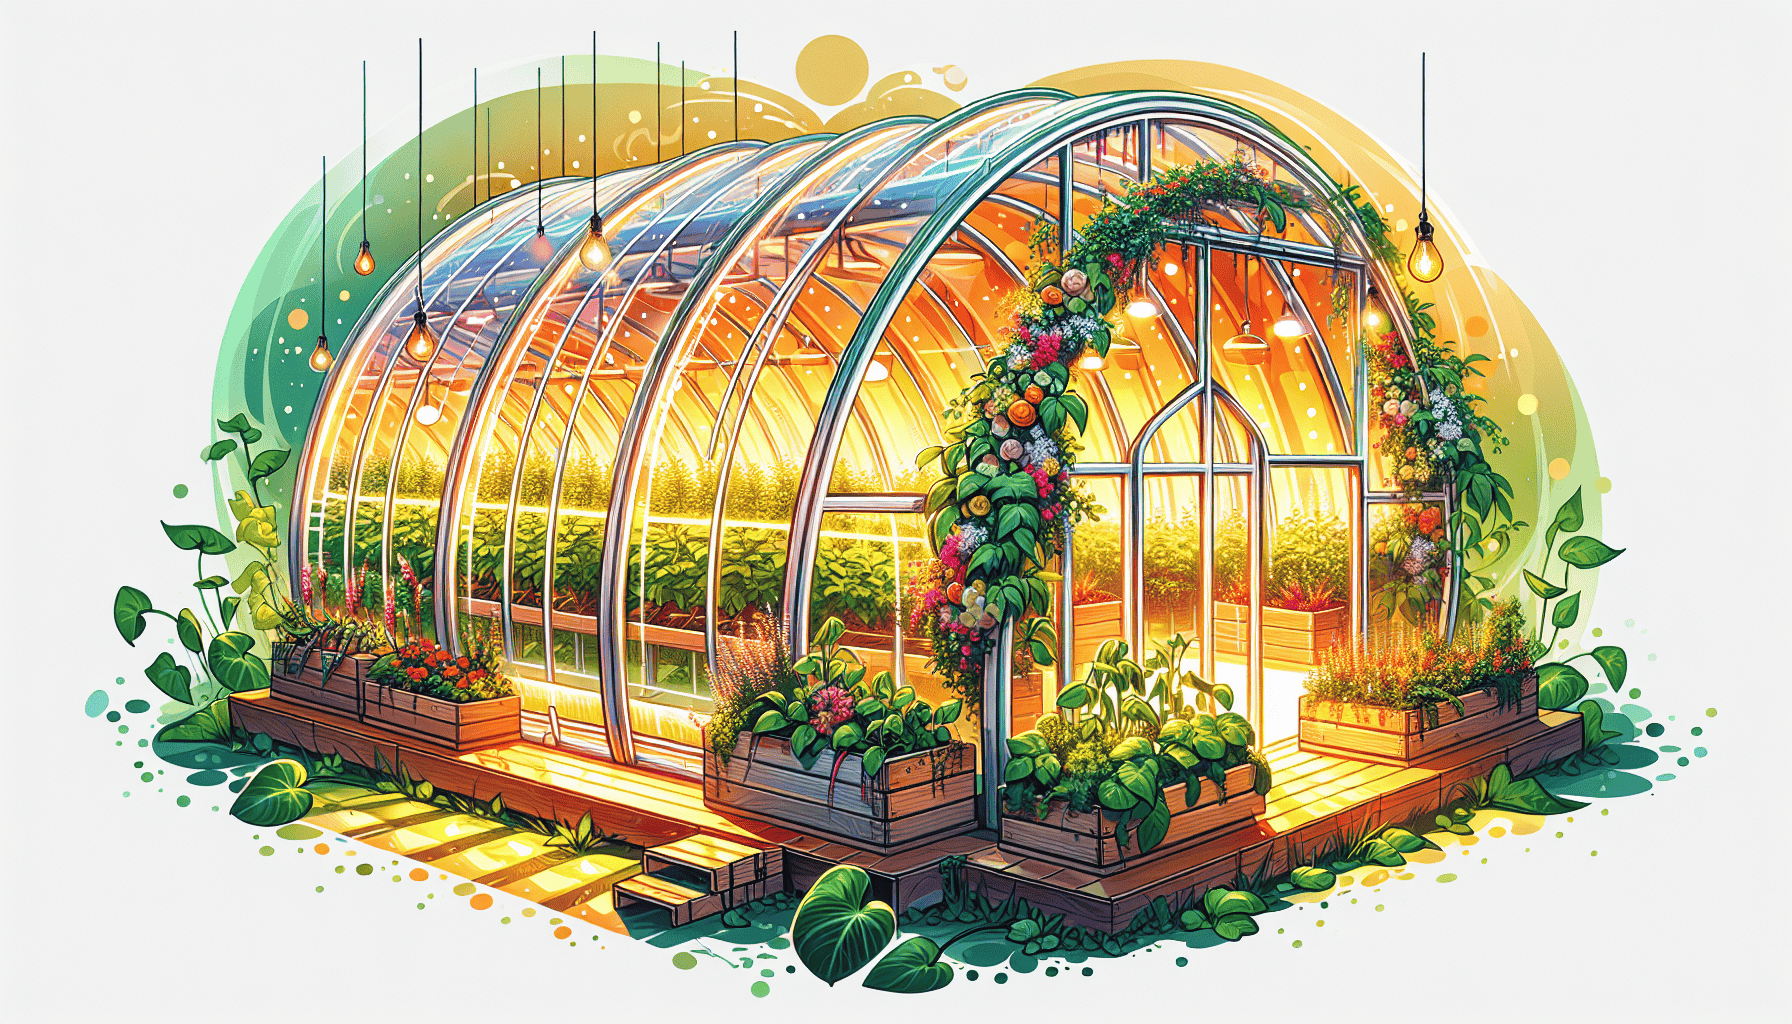
Utilizing materials such as PVC pipes and greenhouse plastic, DIY hoop houses are constructed to offer a safeguarded setting for plant growth. These enclosures are fashioned by bending either PVC or steel pipes into arcs that support the polyethylene sheeting draped over them. This results in improved regulation of both temperature and humidity within the space around your crops. The flexibility of this setup allows it to be modified to fit a range of shapes and sizes, making it an ideal solution for different raised bed gardens.
Hoop houses create an insulated environment which prolongs the growing period while protecting vegetation from chilly weather conditions and harmful pests. They effectively cultivate a miniature climate that can extend the time you have for harvesting produce while also defending against severe winter elements.
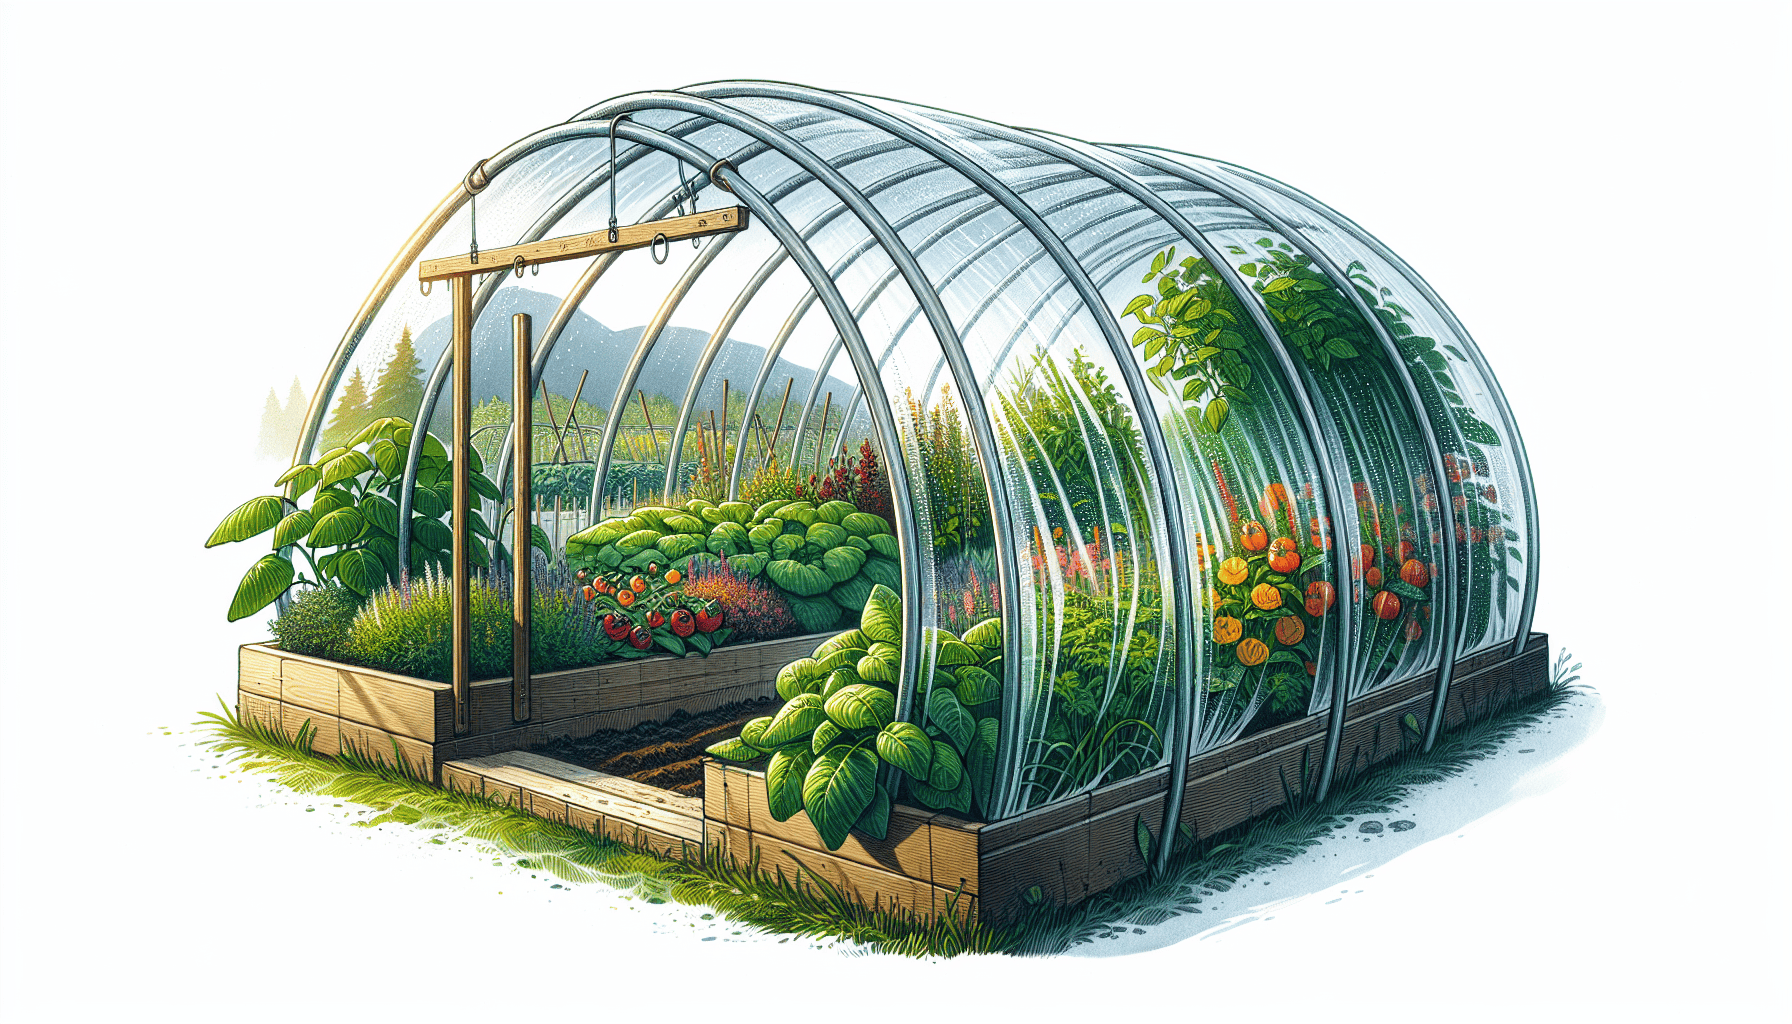
The guide provided will instruct on how to build a hinged hoop house design, offering superior air circulation as well as convenient accessibility when tending to your garden’s beds.
Benefits of Hinged Hoop Houses for Raised Beds
Hoop houses, also recognized as low tunnels, are highly beneficial additions to any raised bed garden. They serve a crucial role in extending the growing season by making it possible for plants to be set out earlier during spring and maintain growth into late fall. These structures offer protection from harsh elements like wind and frost as well as snow and ice, safeguarding your plants through the challenging colder periods.
The ability of hoop houses situated over raised beds to elongate the cultivation period while shielding vegetation from chilly temperatures and pests is one of their most compelling features. In summer months, these hoop houses can double up as pest control barriers when draped with lighter-weight coverings. The microclimate inside preserves soil heat aiding in sustained plant development even amidst declining external temperatures. Consequently, crops tend to mature with enhanced sweetness due to an increase in sugar accumulation within this protected environment.
Incorporating a hinged hoop house over your bed can remarkably broaden the time frame suitable for crop production – you could gain an additional six weeks or more for some varieties of vegetables. This translates into having access to homegrown produce around four weeks later than usual in the autumnal season and initiating planting four weeks prior at winter’s end.
Such setups promote greater vegetable outputs since they extend harvesting opportunities until later portions of fall all the way back again toward early parts of spring. With consistent maintenance of warmth and moisture levels within its confines despite outside temperature drops, it’s clear that introducing hinged hoop houses stands greatly advantageous for cultivating robust raised bed gardens.
Planning Your Hinged Hoop House
When embarking on the construction of a hinged hoop house, it’s important to begin with thorough planning. Evaluate your garden space carefully, determining how many hoops you can accommodate and where entrances will be placed for easy access to your plants. Analyze the soil condition in the selected spot because this plays a vital role in nurturing healthy vegetable plants. The chosen area should have good drainage and be flat enough to adequately support your hoops house.
It’s essential also to factor in the dimensions of any raised beds when estimating what size hoop house is necessary. After setting up its frame, check that each diagonal measurement matches so that it stands squarely. Plus, consider whether you’ll need height adjustments on those hoops. They may need enlarging if you’re going after bigger plant varieties or aiming for increased thermal insulation.
Finally, ensure that the site selection provides plenty of sunlight since this is crucial for robust plant development within your structure. The orientation and placement are not just about light exposure—they’re critical factors influencing how well your hoop house resists wind pressures too.
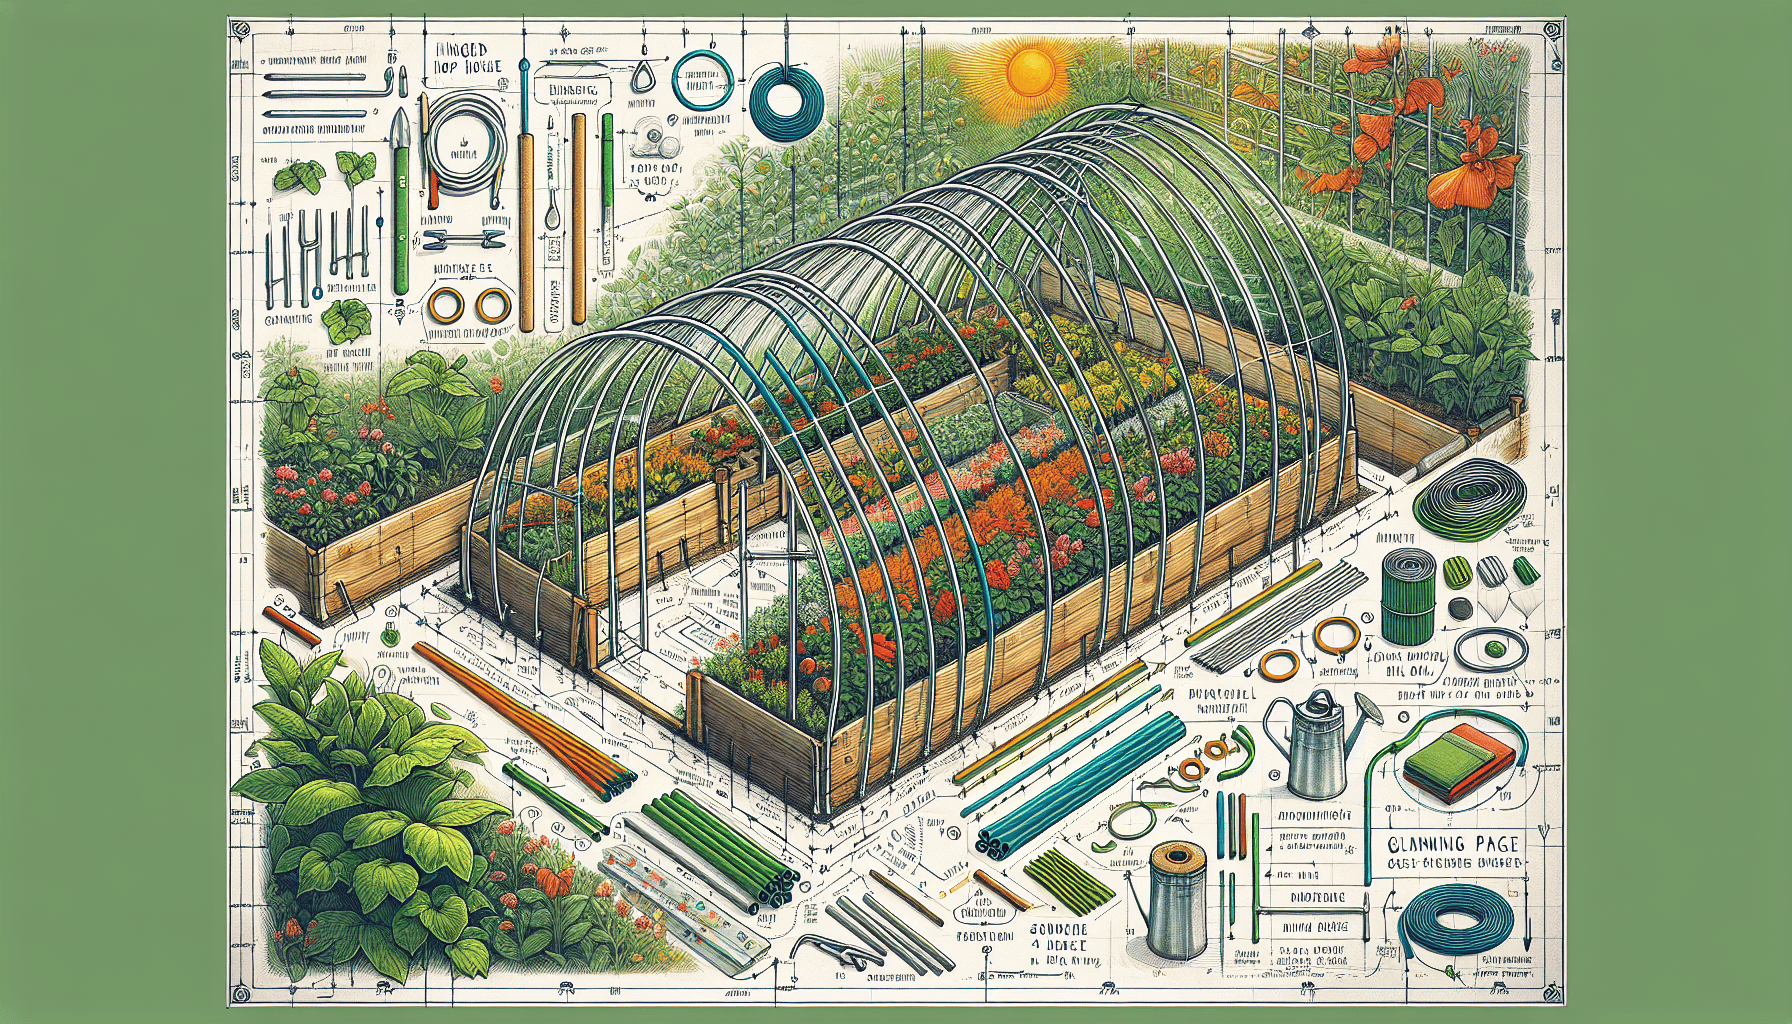
Materials Needed
To construct a hoop house with hinges, you’ll need an assortment of essential materials and implements. Key components comprise pvc pipes for the frame, along with greenhouse plastic and shade cloth to serve as the protective covering. The assembly process will also require various fasteners, clips for securing the coverings, anchor stakes to stabilize the structure, plus tools like a saw and drill for cutting and assembling.
It is important not just for efficacy but for safety that during construction one wears appropriate gear such as gloves to protect hands and eye protection to shield against potential hazards. When it comes time to create your PVC hoops specifically designed for this project, use half-inch diameter PVC pipe cut into ten-foot sections. To hold everything together, make sure you have strong fasteners at hand including screws which offer durability and duct tape known for its versatility.
Armed with these specified tools and building supplies one can embark on creating a durable hinged hoop house tailored perfectly over their raised garden bed, enhancing both plant growth & maintenance efficiency.
Building the Frame
Start by laying out your Common Lumber Sizes (CLS) wood along the shorter edge of your bed and marking where cuts will be made. Create two end pieces and two longer side pieces with these markings. Assemble them into a frame using 70mm screws to hold the corners together, making sure to predrill holes to prevent splitting in the wood. This assembled base will serve as the foundation for your hoop house.
Then secure PVC pipes onto this wooden frame using short strips of metal banding material. Utilize ground and post combo brackets which are designed specifically for mounting PVC pipes within a hoop house structure. For improved stability under windy conditions, consider installing chains near the hinges that can anchor down the lid firmly in place. You can enhance structural support by connecting two PVC pipes across the top rib of your hoop house.
To ensure longevity and resistance against adverse weather conditions, it’s critical to affix each PVC pipe securely to your frame. Galvanized tube straps excel at keeping hoops upright without any tilting effect on one’s hoop house framework strength-wise. Thus preserving its overall durability intact indefinitely forward while Facilitating hinge placement subsequent after entire assembly completion henceforth.
Installing the Hinges
Select hinges crafted from robust materials that can withstand the elements to ensure they last and function effectively. Install the hinges at a level that facilitates easy entry and promotes efficient air circulation within the hoop house. Mount them about 8 inches away from each edge of your hoop house’s cover for ideal access.
Ensure you attach the hinges firmly to both the wood frame and door of your hoops house, using a minimum of two hinges per door to provide ample support and prevent any drooping as time passes. It’s recommended that screw holes are predrilled into the wood before installing these fixtures in order not to crack or damage it.
Incorporate a handle on one end of your lid for convenience. This will simplify opening and closing activities associated with managing this hinged construction.
Attaching the Plastic Cover
Securing the greenhouse plastic over your hoop house is an essential stage in its assembly. Utilize snap clamps to fasten the plastic securely to the frame of your hoop house, making sure that at the base there’s extra length of plastic available to anchor and stabilize it against strong wind gusts. A snugly fitted cover will deter flapping caused by high winds, which can lead to decreased durability.
To Reinforce this protection, you could crisscross straps or ropes over the cover so it remains firmly intact even when subjected to forceful wind conditions. It’s important for maintaining a firm grip on your cover. Otherwise, loosening might result from constant motion due directly to windy weather.
Once everything is fixed into place with care taken for securement, you have yourself a ready-to-use hinged hoop house – offering shelter and conducive growth environment for all within its canopy.
Seasonal Adjustments
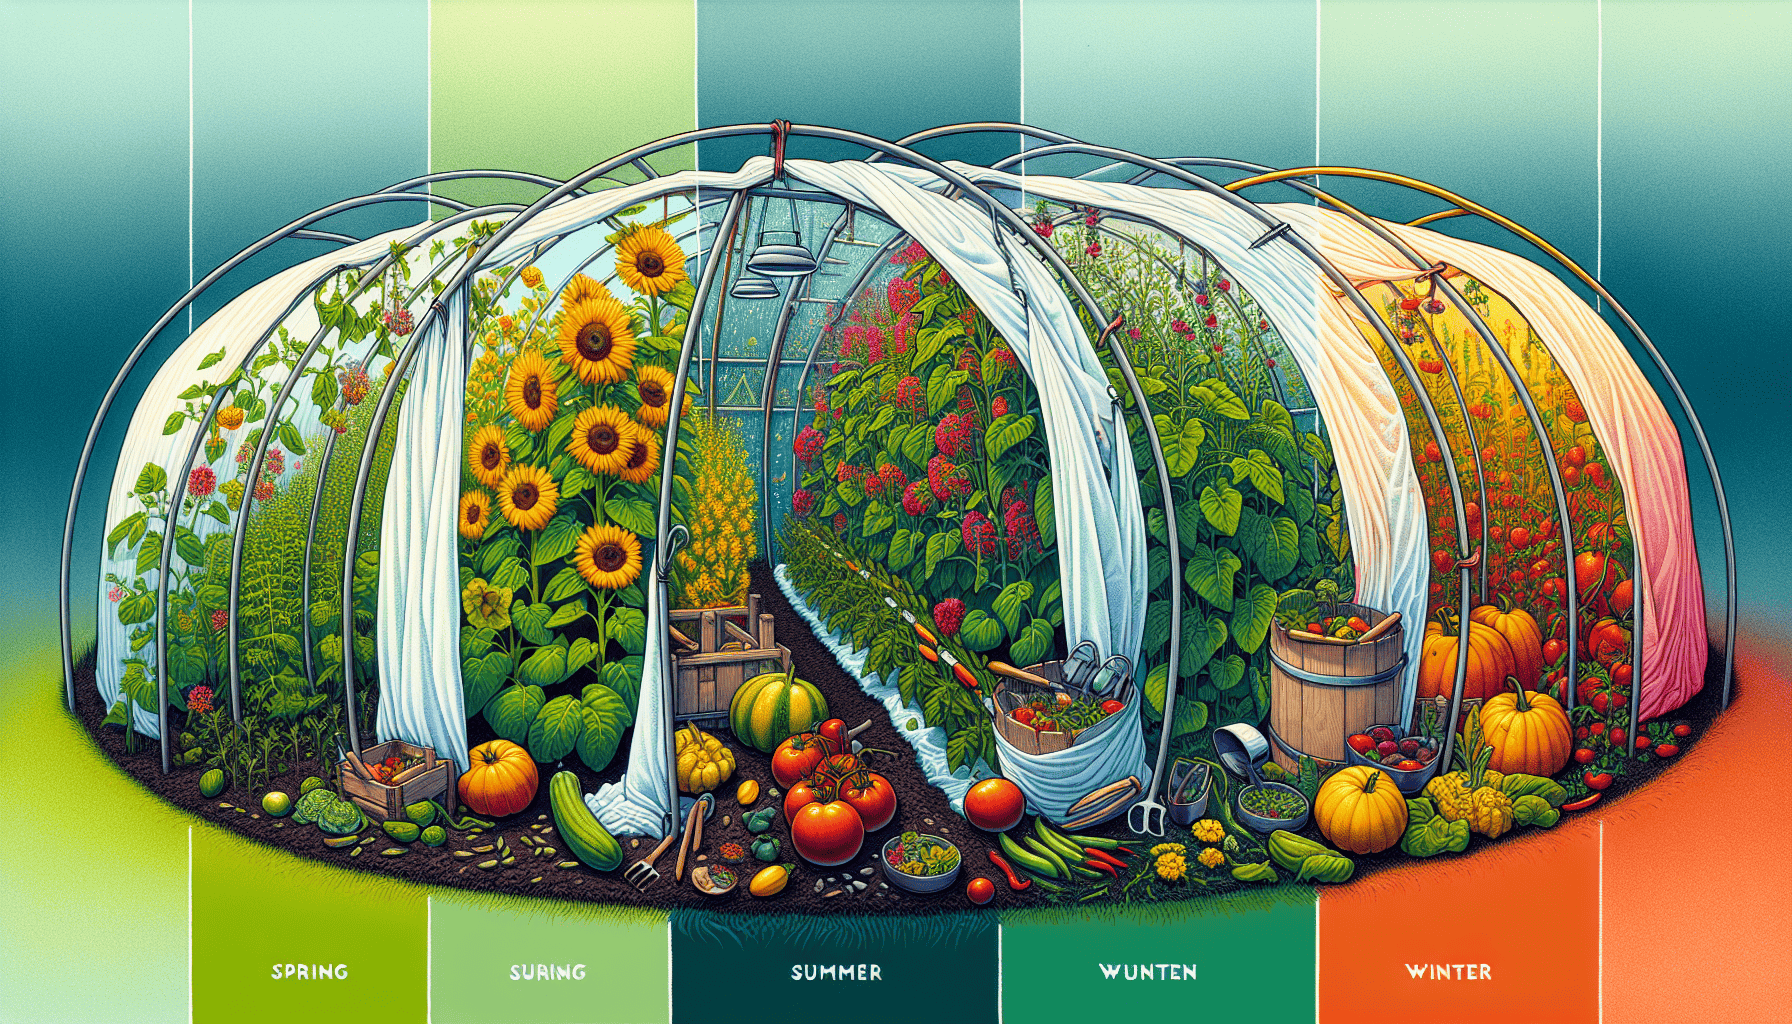
Adjusting your hoop house to the changing seasons is essential for a fruitful yield all year round. In winter, using frost blankets safeguards the plants against chilling temperatures, while row covers act as insulation to shield crops from biting cold weather.
To avoid humidity-related stress on plants within the hoop house during fall and winter, it’s imperative to manage ventilation diligently. Low tunnels come in handy when you want to guard your autumn harvests from early frosts and prolong the season of reaping what you’ve sown. Employing a moisture meter can help maintain optimal watering levels during dry winters.
By tailoring maintenance practices throughout different times of year, you can continue productive operations in your hoop house across various seasons. Such seasonal adaptations enable an extension of both growing and harvesting periods, allowing one to enjoy fresh produce well into traditionally non-growing months like late fall or even deep winter.
Maintenance and Inspections
It’s essential to consistently maintain your hoop house to ensure its durability. By conducting routine checks, you can keep the structure in peak condition. Make sure all parts of the hoop are intact and securely fastened, with no signs of damage. During winter months, be vigilant about managing snow accumulation on the structure for continued stability.
Address any small holes or rips in the materials used as coverings promptly to preserve insulation and safeguard your plants. Minor repairs can often be managed efficiently by applying duct tape or similar patching substances.
To promote a salubrious habitat for plant growth within your hoop house, it is vital to clean and sterilize the covering materials frequently. This proactive measure helps avert mold proliferation and deters pest invasions that could potentially harm your plants.
Choosing the Right Crops
Choosing appropriate crops for your hoops house can enhance the advantages offered by this gardening structure. Cold-hardy vegetables such as lettuce, spinach, and kale are ideal candidates. Hinged hoop houses especially support the overwintering of veggies like carrots and various greens, setting them up for successful spring development.
In the season with higher temperatures, plants like tomatoes, peppers, and cucumbers are suitable to grow in a hoop house environment. Vegetables that self-pollinate, including Brussels sprouts, cabbage, and kale, flourish well inside a hoop structure too. Employing row covers or using netting within the garden is an effective strategy to shield your plants from pests while prolonging their growing period.
Enhancing Your Hoop House
Enhancing the efficiency and effectiveness of your hoop house is possible with a few additional measures. Integrating row covers during the cooler months can offer extra insulation for crops against cold snaps. In contrast, applying shade cloth amid summer’s arid conditions helps in lessening soil moisture loss while aiding in getting new plantings off to a good start.
To construct robust low tunnels that suit various crop needs, you may utilize materials like PVC conduit, 9 gauge wire, or metal conduit. This enables you to tailor the size and height of your hoops perfectly. Whether it’s for accommodating lofty vegetable varieties or shorter salad greens.
Depending on seasonal demands and pest control requirements, different types of coverings are employed such as polyethylene film, row covers specific for insulating purposes, insect netting to ward off pests without chemicals or pesticides use and most importantly shade fabric applicable during sweltering weather spells also keeping harsh light at bay from delicate cultivars which cannot withstand direct exposure too well – something worth considering when aiming optimal growing conditions inside these versatile structures accordingly properly managing both humidity levels by regular checks alongside ensuring proper ventilation so there’s enough air circulation preventing any potential issues before they arise!
Summary
Constructing a DIY hinged hoop house over your raised beds is an effective strategy to lengthen the period in which you can grow plants and shield them from harsh weather conditions and pests. These structures provide multiple advantages, such as preserving heat and moisture levels in the soil, promoting better crop quality, and allowing some crops to survive through winter.
By adhering to this tutorial, you’re equipped to create a functional and resourceful hoop house that will significantly improve your gardening ventures. Assemble your materials, design your framework accordingly, then begin erecting your very own hinged hoop house without delay. Relish the benefits of longer growing seasons while cultivating robust plants within the confines of your garden space.
Frequently Asked Questions
What materials do I need to build a hinged hoop house?
To construct a hoop house with a hinged design, accumulate the necessary items including PVC pipes, plastic specifically designed for greenhouses, cloth to provide shade, various fasteners and clips, stakes for anchoring the structure into place as well as tools like a saw and drill. Remember to also prepare appropriate safety equipment.
Armed with these materials at hand, you’re all set to craft your personal paradise for gardening!
How do I secure the plastic cover to the hoop house frame?
Fasten the plastic sheet to your hoop house structure using snap clamps, and make certain to leave additional length at the base which should be anchored down to keep it from being carried off by the wind.
By doing this, you’ll maintain the durability and safety of your greenhouse!
What are some recommended crops for a hoop house?
To ensure your hoop house thrives, opt for growing cold-tolerant plants such as lettuce, spinach, and kale. When the temperature rises, you can incorporate warm-season vegetables like tomatoes, peppers, and cucumbers.
By adopting this diverse range of crops, you are poised to enjoy a rich yield throughout all seasons!
How do I maintain my hoop house?
Regularly carry out inspections for any damage on your hoop house, ensure that the covering is kept clean, and promptly replace parts that show wear.
By adopting this proactive maintenance strategy, you are creating an optimal environment for growth within your hoop house!
Can I use a hoop house in all seasons?
Certainly, with appropriate modifications for each season, a hoop house can be used throughout the year! For instance, by implementing frost blankets during winter and adjusting ventilation in summer to manage temperatures, you’re able to create an optimal setting for your plants regardless of the season.